Karcher G 2600 VC PLUS User Manual
Browse online or download User Manual for Carwash Karcher G 2600 VC PLUS. Karcher G 2600 VC PLUS User Manual
- Page / 46
- Table of contents
- TROUBLESHOOTING
- BOOKMARKS
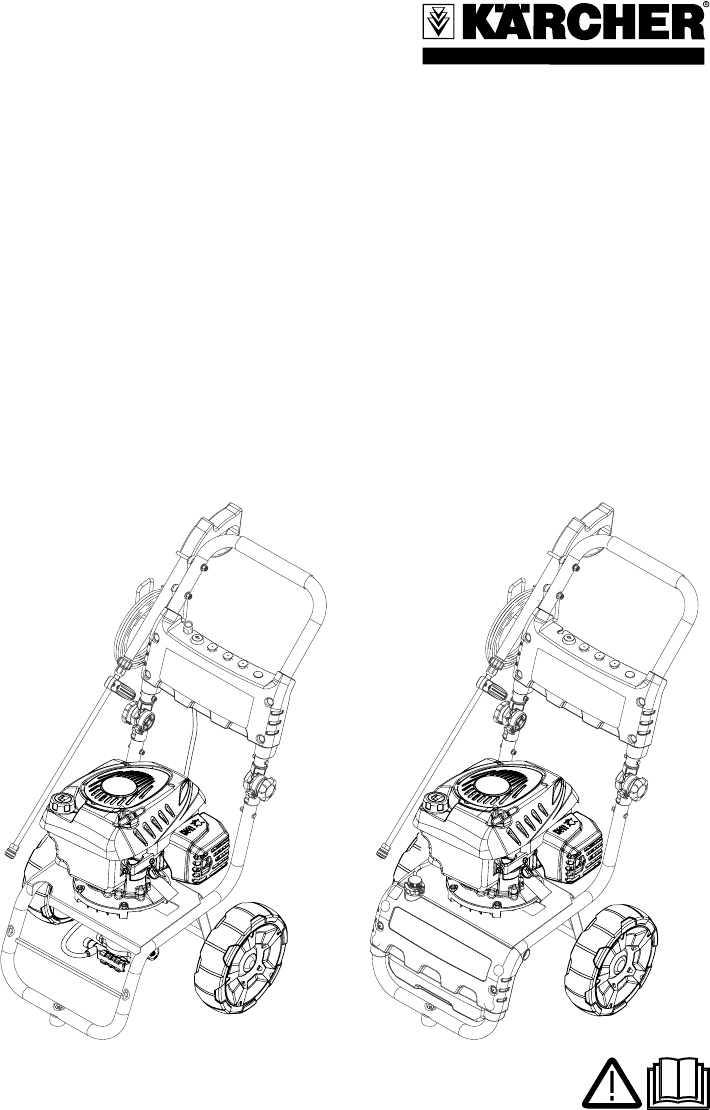
- G 2600 VC 1
- G 2600 VC Plus 1
- MODEL OVERVIEW 3
- IMPORTANT SAFETY INSTRUCTIONS 4
- WATER SUPPLY 5
- (Cold Water Only) 5
- ASSEMBLY INSTRUCTIONS 5
- Required Tools (not included) 5
- Hardware (included) 5
- Assembling 7
- OPERATING INSTRUCTIONS 9
- Quick connect nozzles 10
- USING THE ACCESSORIES 10
- WORKING WITH DETERGENTS 10
- Detergents 11
- SHUTTING DOWN & CLEAN-UP 11
- TROUBLESHOOTING 14
- VISTA GENERAL DEL MODELO 17
- INSTRUCCIONES DE MONTAJE 19
- Partes (incluidas) 20
- UTILIZACIÓN DE LOS ACCESORIOS 25
- Boquillas de conexión rápida 25
- TRABAJANDO CON DETERGENTES 25
- Detergentes 26
- APAGADO Y LIMPIEZA 26
- Autos, lanchas y motos 28
- Accesorios opcionales 29
- Français 30
- GÉNÉRALITÉS 32
- INSTRUCTIONS DE MONTAGE 34
- Outils requis (non fournis) 34
- Quincaillerie (fournie) 35
- Assemblage 36
- MODE D’EMPLOI 38
- UTILISATION DES ACCESSOIRES 39
- Buses à connexion rapide 39
- EMPLOI DE DÉTERGENTS 39
- Détergents 40
- Accessoires optionnels 43
- DÉPANNAGE 43
Summary of Contents
9.800-498.0 01/10A G 2600 VCG 2600 VC PlusEnglish 2Español 16Français 31
10EnglishQuick connect nozzlesUSING THE ACCESSORIESWORKING WITH DETERGENTSThe color-coded quick connect nozzles provide awide array of spray widths fr
11EnglishDetergentsTAKING A BREAK ..five minutes or moreSHUTTING DOWN & CLEAN-UP CAUTIONThis unit has been designed for use with cleaningdet
12EnglishPump MainenanceThe pump on your Kärcher pressure washer does not require maintenance. Any attempts to service or alter the pump may damage yo
13English(with or without detergent). Pre-rinse furnitureand surrounding area with fresh water. If using detergent, apply to surface at low pressure.
14English CAUTIONRemove the spark plug cable to prevent ac-cidental ignition of the engine before making any repair.TROUBLESHOOTINGSymptom POSSI
15EnglishSymptom POSSIBLE CAUSE SOLUTIONPump is noisy.Pump is sucking air. Check that hoses and fittings are air tight.Turn off machine and purge pump
16EspañolVista general del modelo 17Instrucciones de seguridad 18Instrucciones de montaje 19Instrucciones de funcionamiento 24Utilicación de l
17EspañolVISTA GENERAL DEL MODELO1 Asa de transporte2 Pistola de disparo3 Pestillo de seguridad de la pistola de disparo4 Manguera de alta presión
18EspañolINSTRUCCIONES IMPORTANTES DE SEGURIDADAntes de la puesta en marcha, leer el manual de instrucción del fabricante del motor, especial-mente
19EspañolSUMINISTRO DE AGUA (Sólo agua fría)INSTRUCCIONES DE MONTAJEHerramientas NECESARIAS (no incluidas) ATENCIÓNCuando conecte la entrada de
2EnglishModel Overview 3Important Safety Instructions 4Assembly Instructions 5Operating Instructions 9Using the Accessories 10Working with Dete
20EspañolPartes (incluidas)
21Español
22EspañolMontajePASO 1:Fije las juntas (A) a la asa de transporte. Use un perno de 1/4” (C) y ajústelo con una tuerca de 1/4” (B) para cada lado. Ajús
23EspañolSoltar el cuello y empujar la boquilla hastaque encaje.PASO 9:Colocar el cuello con resorte a la barra para insertar la boquilla rápida de co
24EspañolINSTRUCCIONES DE FUNCIONAMIENTOATENCIÓNEl motor no tiene aceite. Antes de dar arranque al mo-tor, pongale elaceite. No lo llene demasiado. No
25EspañolUTILIZACIÓN DE LOS ACCESORIOSBoquillas de conexión rápidaTRABAJANDO CON DETERGENTESLas boquillas de conexión rápida codificadas porcolores ofr
26EspañolPASO 5:Dejar correr siempre agua fresca por el tubode absorción de detergente al acabar el trabajo de limpieza para limpiar/extraer los resto
27Españoltécnico en su zona online en www.karcherresi-dential.com.) Mantenimiento de la bombaLa bomba de su limpiadora Kärcher no precisamantenim
28Españolmediante un movimiento de barrido homogéneo, manteniendo la boquilla de alta presión a aprox. 15 centímetros de la superficie a limpiar.
29EspañolCuando se utilice en superficies que puedan entrar en contacto con comida, enjuáguelas abundantemente con agua potable.Accesorios opcionales
3EnglishMODEL OVERVIEW1 Handle2 Trigger gun3 Trigger gun safety lock4 High pressure hose5 Gas tank6 Spray wand7 Dipstick8 Water inlet
30FrançaisSi tiene más problemas de los que están indica-dos, llame o visite nuestra página web.USA / CDN: 1-800-537-4129www.karcher-help.comMéxico: 0
31FrançaisGénéralités 32Consignes de sécurité importantes 33Instructions de montage 34Mode d’emploi 38Utilisation des accessoires 39Empl
32FrançaisGÉNÉRALITÉS1 Poignée2 Poignée-pistolet3 Verrouillage de sécurité de la poignée-pistolet4 Tuyau à haute pression5 Réservoir à essence6
33FrançaisCONSIGNES DE SÉCURITÉ IMPORTANTESAvant la mise en service, lire le mode d’emploi du constructeur du moteur et en particulier respecter les
34FrançaisALIMENTATION EN EAU (eau froide uniquement)INSTRUCTIONS DE MONTAGEOutils requis (non fournis) ATTENTIONLors du raccordement de l’arri
35FrançaisQuincaillerie (fournie)
36FrançaisAssemblageETAPE 1:Posez les joints (A) à la poignée. Utilisez unboulon de 1/4 po (C) et serrez-le avec un écrou de 1/4 po (B) de chaque côté
37FrançaisETAPE 3:Monter le support de rangement du pistolet/flexible.ETAPE 4:Monter le support de la buse sur la poignéeavec les rivets en nylon joint
38FrançaisRelâcher le collier et enfoncer le flexible hautepression jusqu’à ce que le collier s’enclenche. AVERTISSEMENTHaute pression dans la zo
39FrançaisETAPE 8:Mettre le commutateur d’arrêt du moteur surON.Pour de plus amples informations à propos dumoteur, reportez-vous au manuel du moteur.
4EnglishIMPORTANT SAFETY INSTRUCTIONSRead the operating instructions of the engine manufacturer before start-up and follow the safety instructions c
40FrançaisETAPE 3:Régler la valve de dosage du détergent pourobtenir le mélange voulu. (2600 VC Plus uniquement)ETAPE 4:Lorsque le moteur tourne, enfo
41FrançaisARRÊT DE L’APPAREIL ET NETTOYAGEETAPE 1:Retirer le tuyau d’aspiration de détergent durécipient et ajouter 1 gallon d’eau fraîche.Siphonner l
42Françaissécher. Rincer à haute pression d’un ample mouvement de balayage en maintenant la buse à environ 7,5-15 cm de la surface à nettoyer. Toujour
43Françaisnant la buse à environ 7,5-15 cm de la surface à nettoyer. Pour obtenir de meilleurs résultats, nettoyer de haut en bas et de gauche à droit
44FrançaisEn cas d’apparition d’un problème ne figurant pas dans cette liste, faire appel à l’assistance téléphonique ou se rendre sur le site Web.Symp
5English CAUTIONWhen connecting the water inlet to the watersupply mains, local regulations of your watercompany must be observed. In some area
6English
7EnglishAssemblingSTEP 1:Insert joints (A) into handle. Use one 1/4” bolt(C) and tighten with one 1/4” nut (B) on eachside. Hand tighten.STEP 2:Attach
8EnglishSTEP 6:Place the quick connect nozzles in the nozzleholder.Release the collar and push the nozzle untilthe collar clicks.STEP 9:Pull the sprin
9EnglishCAUTIONEngine shipped without oil. Before starting engine, fill with oil. Do not over-fill. Do not run the engine with a high or low oil level a
Related products and manuals for Carwash Karcher G 2600 VC PLUS
 (12 pages)
(19 pages)
(12 pages)
(19 pages)

 (48 pages)
(12 pages)
(12 pages)
(47 pages)
(12 pages)
(43 pages)
(24 pages)
(46 pages)
(12 pages)
(52 pages)
(52 pages)
(52 pages)
(12 pages)
(48 pages)
(64 pages)
(44 pages)
(52 pages)
(48 pages)
(48 pages)
(12 pages)
(12 pages)
(47 pages)
(12 pages)
(43 pages)
(24 pages)
(46 pages)
(12 pages)
(52 pages)
(52 pages)
(52 pages)
(12 pages)
(48 pages)
(64 pages)
(44 pages)
(52 pages)
© 2020, manymanuals.com. All rights reserved. | 0.104 s |
 Manymanuals.com
 Manymanuals.de
 Manymanuals.fr
 Manymanuals.it
 Manymanuals.pl
 Manymanuals.cz
 Manymanuals.es
 Manymanuals-pt.com
Comments to this Manuals